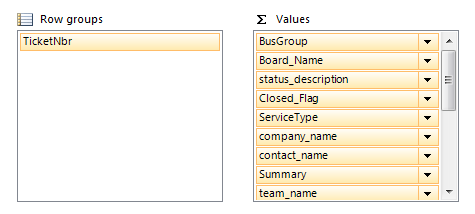
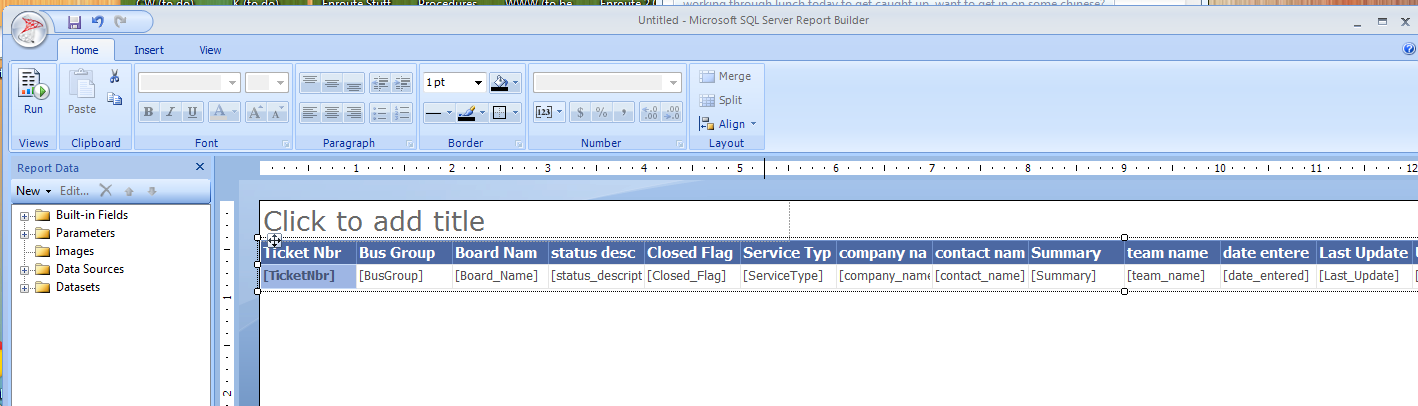
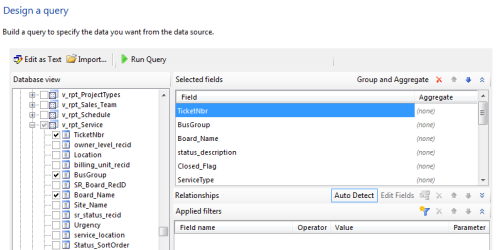
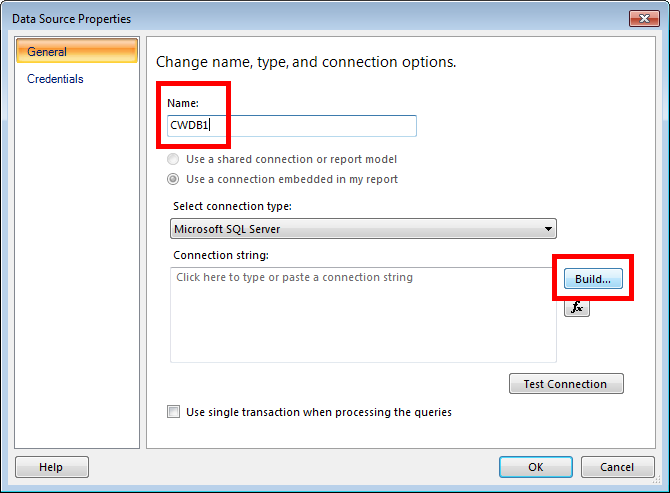
Meet your new friend, The Filter:
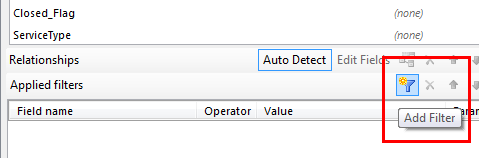
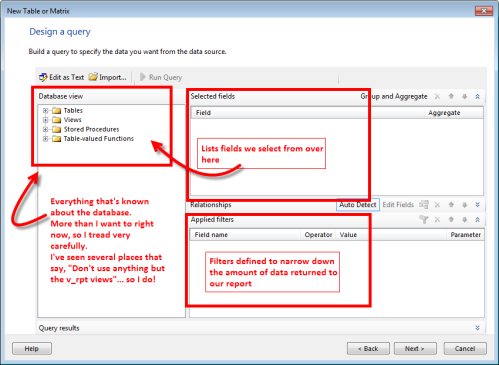
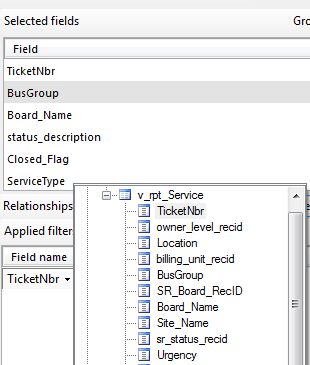
A quick gotcha…. When you click the Add Filter icon, it defaults to the first Select Field in the list above. Click on the Field Name in the Applied Filters box to select the field you want to filter on. Unfortunately it returns all fields in the view, not just the fields you selected. (I assume this means that you don’t have to select the fields for the report. I could have probably selected fewer fields.)
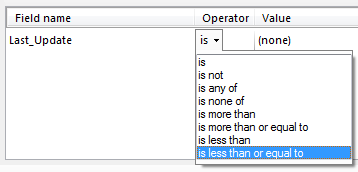
After selecting the field, you set the operator. These vary based on the type of field. More trial and error. (One thing I discovered is that you may want to set the opposite of what you want returned for testing. It was easier for me to count all tickets updated since date X and compare that to the report that was generated here. Tough to explain.)

Next, set the value(s) you want to filter on. You’ll need the Data Dictionary or experience to know what to enter here.
Honestly, I wish I could remember everything I did to get to my final report. Trust me; the trial and error was a lesson unto itself. Some of the fields listed above were added after my report brought back too much information. That’s your homework for this weekend!
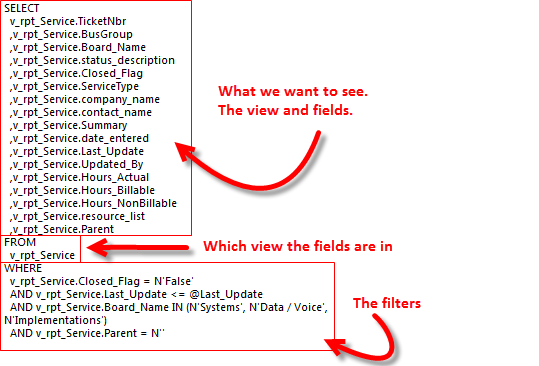
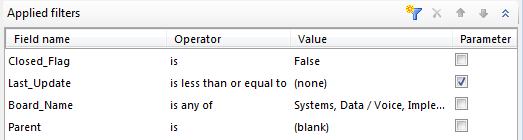
Here are the filters I applied and why:
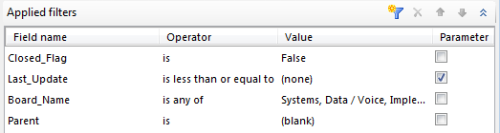
Closed_Flag is False – Remember? Only bring back open tickets.
If true, the ticket is Closed. If false, the ticket is Open
Last_Update is less than or equal to (none) PARAMETER (checked) –
The Parameter check box allows me to select a data (for this field type). The report will show everything that is less than or equal to (that is older than or equal to) the date I select.
We’ll see this in action when we run the report. For now remember that a Parameter allows you to select the values to filter on at some point in the future, not now.
(Something else for me to learn is how to set this so that the query can do its own math to determine everything that’s older than {today – 10 days}. Soon…)
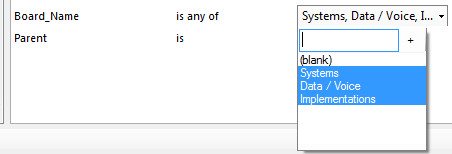
Board_Name is any of Systems, Data / Voice, Implementations – This returns just tickets on the service boards that I’m concerned with. Adjust to match your Service Boards.
This was one of those trial and error sections trying to figure out how to get the values entered correctly. In the end I needed to enter them one at a time.
(This was made much more frustrating by the Report Builder crashing every time I went back to modify something! )
Parent is (blank) – Again, I only want to know about Parent tickets. In our environment, we use Child Tickets to hide things. If you put time on your Child Tickets, you don’t want to add this filter.
For reference, if it is a Child Ticket, the value of this field is the ticket number of the Parent.
(Since taking the screenshot above, I’ve added another field to filter on…)
Status_Description is none of Completed, Completed – Silent – Filters out tickets that are still Open, but marked with our Completed statuses. I know there’s a “like” option available so I don’t have to list both Completed status. Again, these statuses are unique to my company. Enter your own.
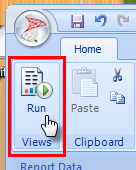
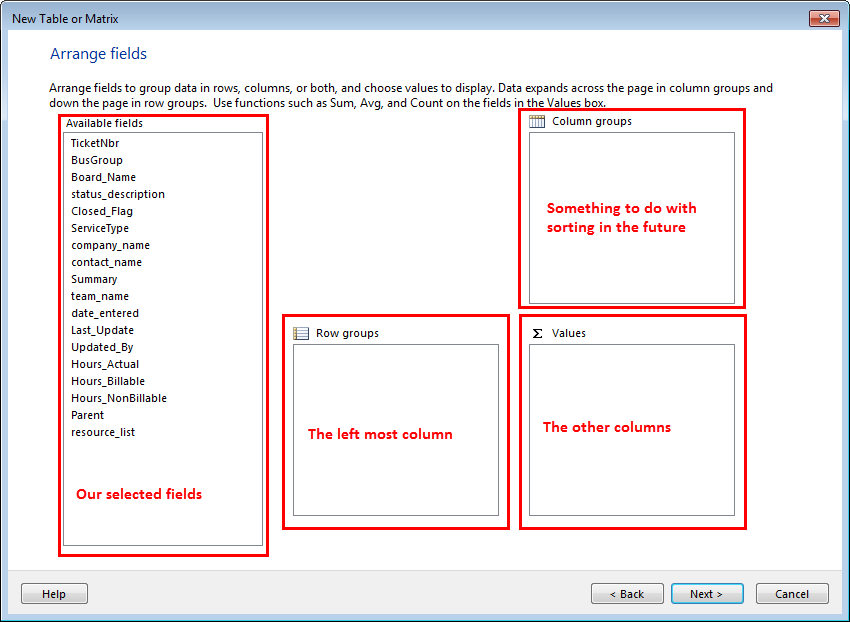
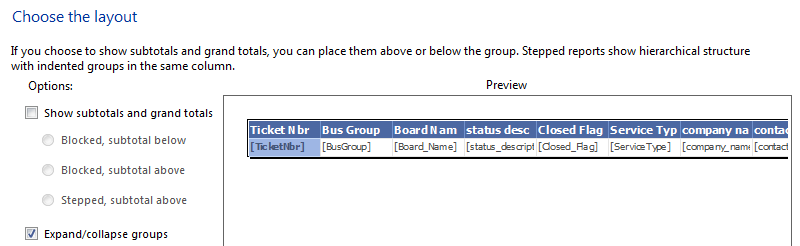
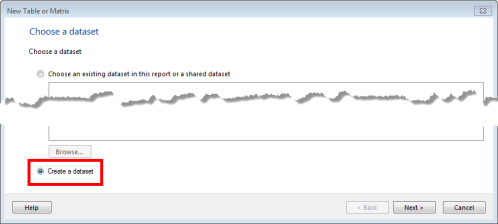
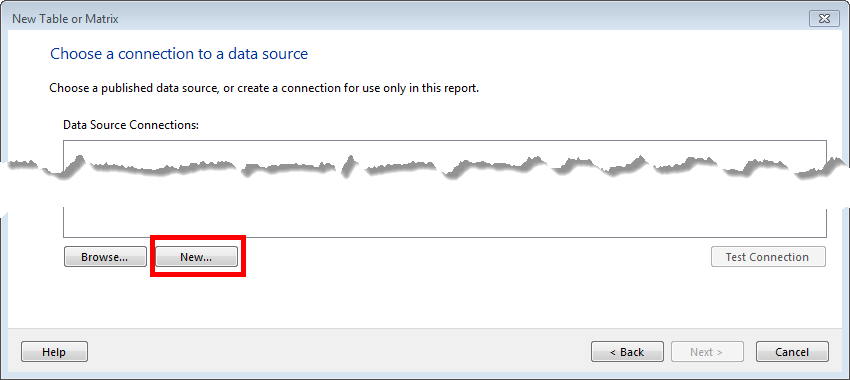
Moving on… let’s start arranging the data on a report.